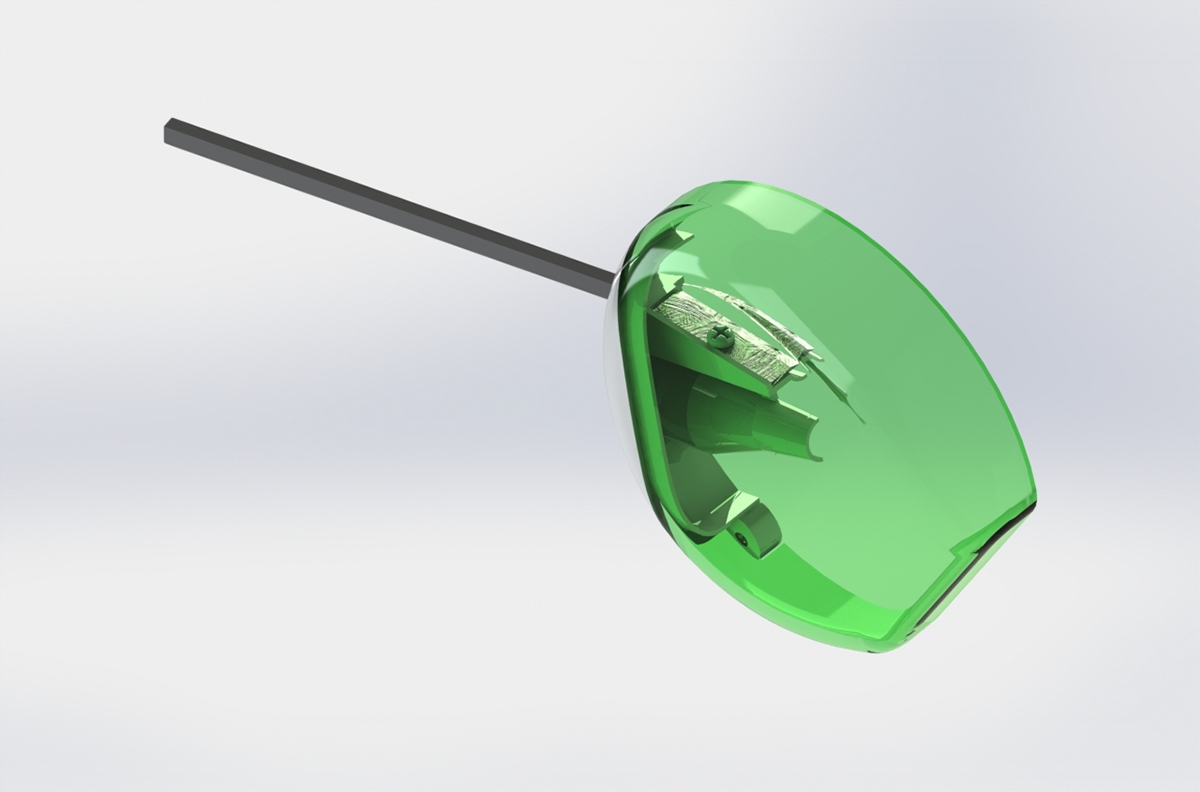


I Had to use a vernier to measure every inch and every aspect of the original pencil Sharpener. The original is very shapeless and has sharp corners so i had to redesign the entire casing. Everything modeled into the CAD environment is 1:1.


I First had to start with the casing of a pencil sharpener and measure every last inch of a pencil sharpener with a vernier to get the best accuracy possible in solidworks to remodel the product. However i had to completely redesign the casing because the original was very dull and basic in shape. So i redesigned it to look more geometric and organic.


Making the lid of the pencil sharpener was very tricky however after a lot of boss extruding and cut extruding in Solidworks the top lid has begun to take the shape of the real product.
But as an extra feature of the shape i also had to redesign the outer piece of the lid to look more organic as well to match the casing.


There a total of 2 blades that perfectly into the lid piece of the sharpener made out of mild steel.


a Total of only 2 screws that are 4x4 screws that are needed in the whole assembly each blade gets one screw to tighten them to the lid piece of sharpener.


Lastly what would a pencil Sharpener do without a pencil to sharpen...


A exploded view of the product and how everything would fit if the product was assembled


A few rendered pictures of the remodeled pencil sharpener.


A Few pictures of how the section view would look like if the pencil sharpener was cut in half.

Further to help understand the project a created a draft detail drawing of the different parts.
